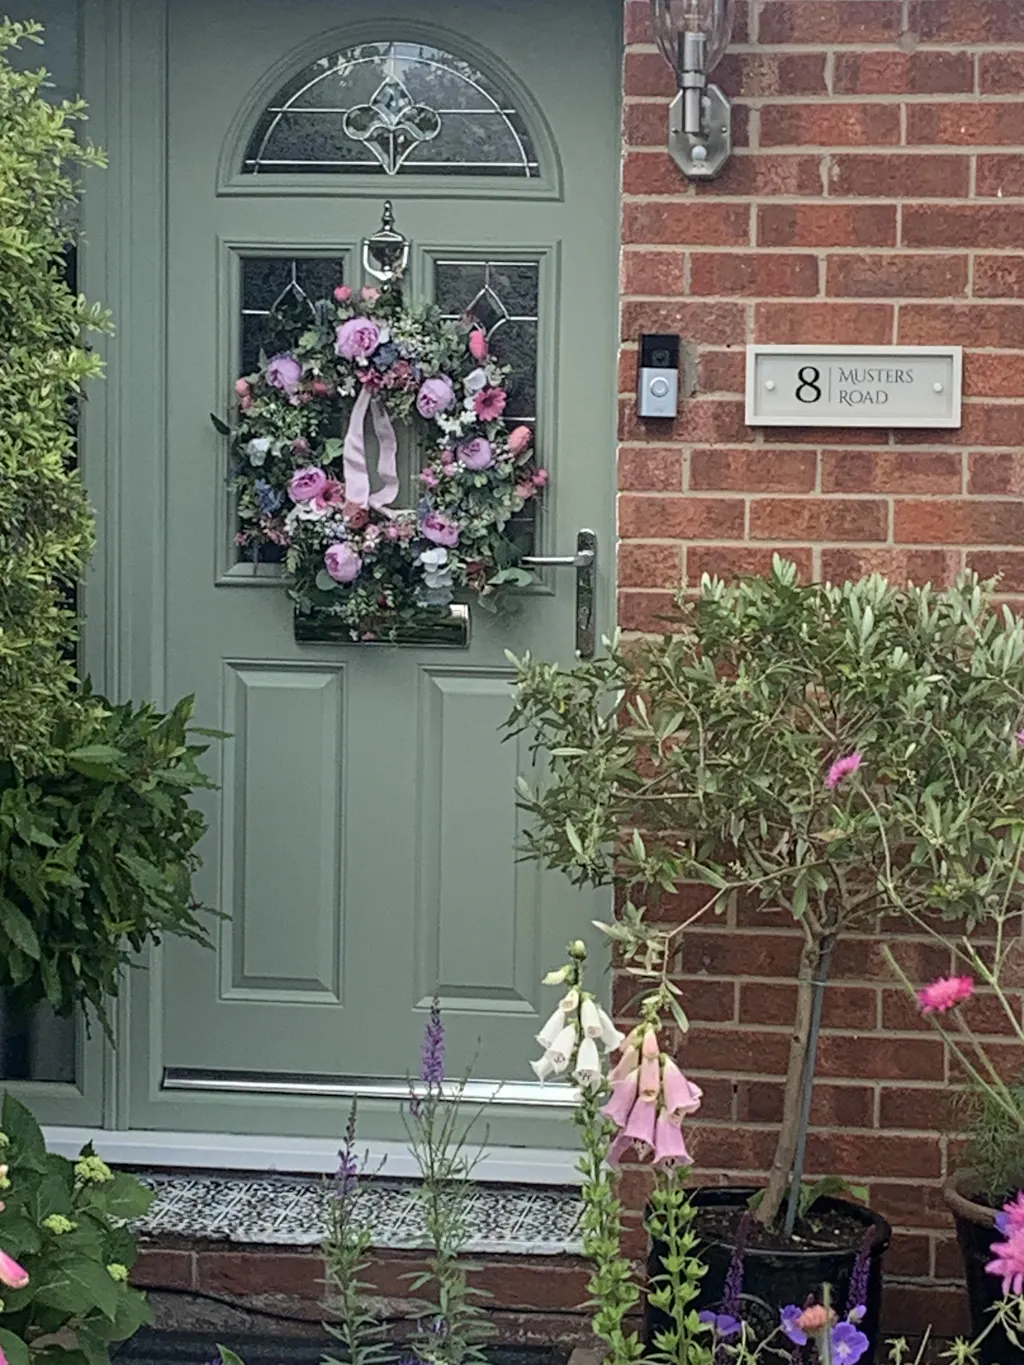
How To Install Your Plaque
Video
Collapsible content
Materials Provided
- 1x Front Plaque
- 1x Cast Stone Back Plate
- Plugs, Screws, and Fixings
- Mounting Template
Tools & Required
- Drill
- 8mm Masonry Drill Bit
- Spirit Level
- Screwdriver
- Tape Measure
- Blu Tack or Masking Tape
EFFORTLESS INSTALLATION
Step 1: Prepare the Surface
• Unscrew the front supports to release the acrylic faceplate from the plaque.
• Carefully place the acrylic plate to one side to avoid scratches or damage.
• Position mounting template & tape in place, before drilling make sure it’s level and not running into brick joints this can make the panel not sit straight.
Step 2: Mark and Drill the Fixing Holes
• Using an 8mm masonry drill bit, drill into the marked points on the mounting template.
Step 3: Secure the Stone Back Plate
• Insert the provided wall plugs into the drilled holes.
• Place the screws through the fixing holes in the cast stone back plate and secure them into the wall plugs. Do not overtighten.
Step 4: Attach the Front Plaque
• Carefully align the front plaque with the back plate.
• Secure it in place using the provided fixings
Collapsible content
Tips
- Ensure that the wall surface is clean and dry before installation.
- If your brickwork is hard use a 4mm masonry bit to keep the accuracy of the hole position. When fitting your sign make sure your hands are clean.
Care Instructions
- Clean the sign with a damp cloth as needed
- Do not clean with abrasive cleaners or solutions which may scratch, damage, and discolour the surface